Chicken Run With Covered Walkway
Highlighted under: Balanced Wellness Meals
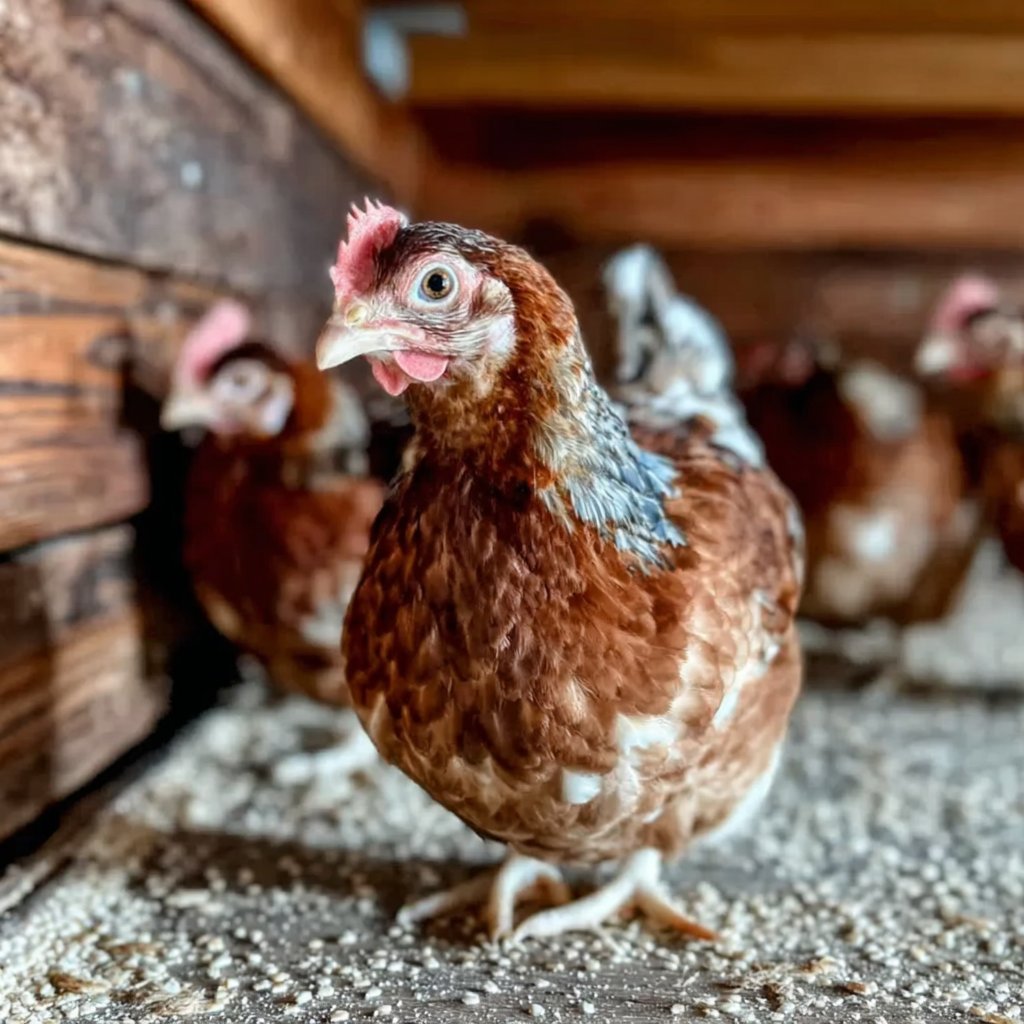
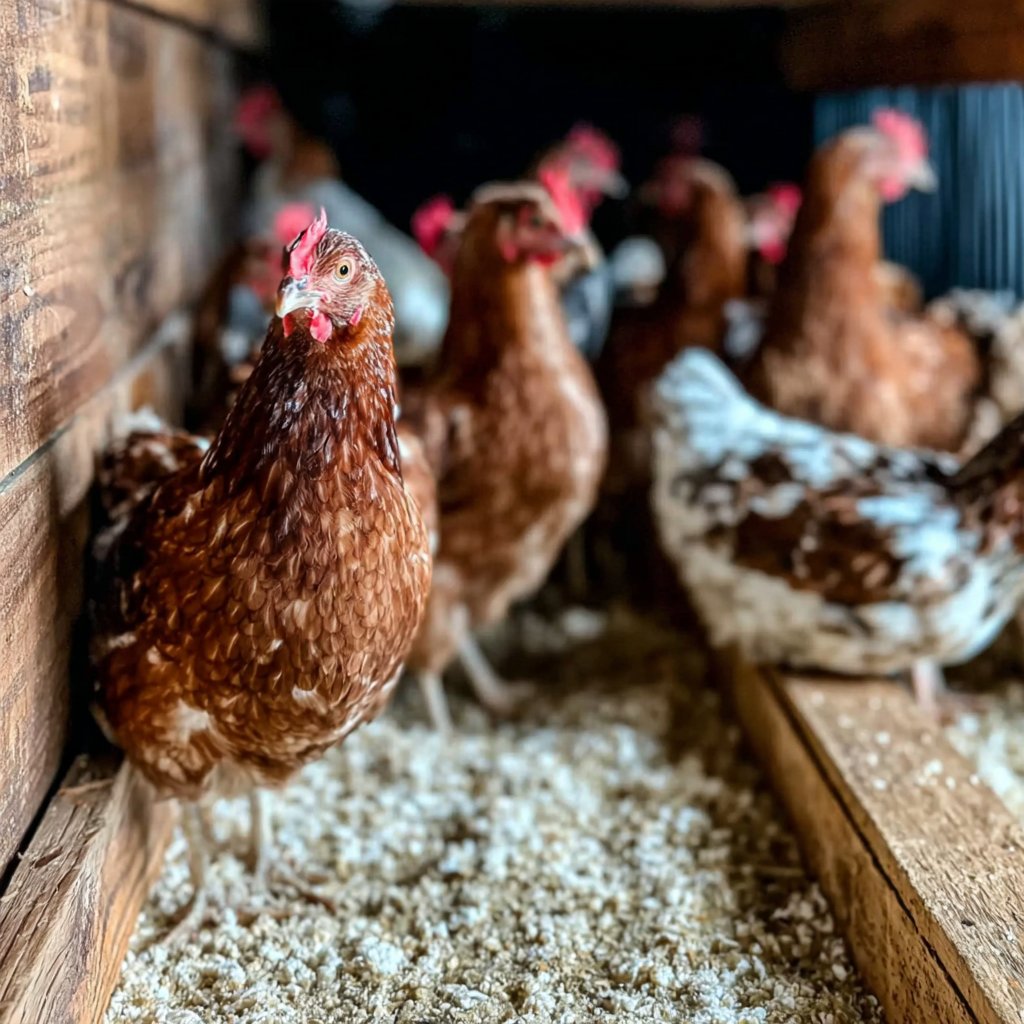
I absolutely love creating cozy spaces for my chicken flock, and designing a covered walkway for their run has been one of my favorite projects. Not only does it provide shelter from rain and direct sunlight, but it also keeps them safe from potential predators. This project was inspired by the idea of giving my birds a comfortable area to explore and stay dry while ensuring they have access to fresh air. I can’t wait to share the steps with you, so you can create your own chicken haven!
I took on this project over a weekend, combining my love for woodworking and my desire to provide a safe environment for my chickens. The covered walkway not only looks great but also protects them from harsh weather conditions, allowing them to roam freely without worry. I used pressure-treated wood for durability and added step-down features with ramps to help the chickens feel more comfortable.
When considering the design, I focused on creating a balance between functionality and aesthetics. I cleverly used PVC roofing sheets to keep the structure lightweight yet sturdy, ensuring maximum drainage and airflow. This approach really helps maintain a clean and fresh atmosphere, which my chickens seem to love!
Why You'll Love This Project
- Provides shade and shelter for your chickens
- Keep your flock safe from predators
- Enhances the overall aesthetic of your coop area
Designing Your Chicken Run
Creating a covered walkway starts with a thoughtful design that considers both functionality and aesthetics. Ensure your sketch reflects the dimensions of your coop and the space where the walkway will connect. It’s essential to keep in mind the movement of your chickens; they need ample room to roam and interact without feeling confined. I like to visualize how my chickens will navigate the space, ensuring the walkway isn't too narrow or low, which could limit their comfort.
When designing, consider future enhancements like perches or plants along the walkway. These additions can create a more enriching environment for your flock. Additionally, think about drainage; placing the walkway at a slight angle can help direct rainwater away from the area, preventing pooling and maintaining a dry pathway for your chickens.
Choosing the Right Materials
Selecting quality materials is crucial for the longevity and durability of your covered walkway. Pressure-treated lumber is an excellent choice as it is specifically designed to resist decay and insect damage. Make sure to inspect each piece for any defects before starting construction; warped wood can compromise the structure. If you're eco-conscious, consider using sustainably sourced wood or composite materials, which can also withstand various weather conditions.
While PVC roofing is lightweight and easy to install, ensure you purchase thick sheets to minimize the chance of cracking over time. I recommend using sheets that are at least 0.5mm thick. This thickness provides ample support and protects against harsh weather. Always check the manufacturer's specifications for installation guidelines to avoid any problems down the line.
Ingredients
Materials Needed
- Pressure-treated lumber
- PVC roofing sheets
- Wood screws
- Hinges
- Latches
- Wooden planks for a base
- Paint or wood treatment (optional)
Instructions
Building a covered walkway for your chicken run is straightforward but requires planning. Here are the steps you need to follow to ensure a successful project.
Measure and Plan
Begin by measuring the dimensions of your chicken run to determine how long and wide your covered walkway needs to be. Sketch a simple design that incorporates the walkway connected to the existing run.
Gather Materials
Collect all materials you'll need for the build. The pressure-treated lumber should be sturdy enough to withstand outdoor conditions.
Construct the Base
Using wooden planks, create a solid base for the walkway. Secure it to the ground to prevent shifting.
Assemble the Framework
Construct the main framework for the walkway with vertical and horizontal wooden beams, ensuring it is level and well-supported.
Install Roofing
Attach the PVC roofing sheets on top of the framework, making sure to overlap the sheets for optimal water drainage.
Add Finishing Touches
Install hinges and latches for easy access, and treat the wood with paint or sealant if desired to enhance longevity.
Once your covered walkway is complete, introduce your chickens to this new space gradually to help them adjust. They will surely appreciate the safe haven you've created!
Pro Tips
- Make sure to check for any loose nails or screws regularly to ensure safety for your chickens. Additionally, consider adding some shade plants alongside the walkway for additional coverage and aesthetics.
Tips for Successful Construction
As you start building, ensure each joint is securely fastened. Use wood screws instead of nails, as they provide better stability and are less likely to loosen over time. A power drill can save you significant time, especially when working with thicker lumber. Double-check the levels as you go to avoid any uneven surfaces, which could impact the functionality of the walkway.
Don’t rush the assembly; take your time to fit each component snugly. If you encounter resistance during assembly, check the alignment of your framework. It’s common for wood to shift slightly, and realigning it can save you from potential headaches later on.
Maintaining Your Walkway
Regular maintenance will ensure your covered walkway remains a safe haven for your chickens. Inspect the structure at least once a month for any damage or wear, particularly after severe weather. Look for signs of decay on the wood and be prepared to treat or replace boards as necessary. If you notice any rust on the metal components like hinges and latches, replace them to avoid future problems.
Additionally, cleaning the walkway regularly by removing debris and droppings can prevent unpleasant odors and encourage a healthy environment. Use a broom or hose to keep the area tidy, and consider applying a non-toxic wood treatment every couple of years to extend the lifespan of the materials. This simple step can make a significant difference in the maintenance of your walkway.
Questions About Recipes
→ What materials are best for weather resistance?
Pressure-treated wood and PVC roofing sheets are excellent choices as they are designed to withstand tough outdoor conditions.
→ How long does it take to build?
Typically, you can complete the project in about 60 minutes, depending on your experience and the complexity of your design.
→ Can I customize the size of the walkway?
Absolutely! The size of the walkway can be adjusted based on your chicken run's dimensions and available space.
→ Will my chickens use the walkway?
Yes! Chickens are curious by nature. With the right adjustments and encouragement, they'll explore their new shaded area in no time.
Chicken Run With Covered Walkway
Created by: Rebecca Mills
Recipe Type: Balanced Wellness Meals
Skill Level: Intermediate
Final Quantity: 1 covered walkway
What You'll Need
Materials Needed
- Pressure-treated lumber
- PVC roofing sheets
- Wood screws
- Hinges
- Latches
- Wooden planks for a base
- Paint or wood treatment (optional)
How-To Steps
Begin by measuring the dimensions of your chicken run to determine how long and wide your covered walkway needs to be. Sketch a simple design that incorporates the walkway connected to the existing run.
Collect all materials you'll need for the build. The pressure-treated lumber should be sturdy enough to withstand outdoor conditions.
Using wooden planks, create a solid base for the walkway. Secure it to the ground to prevent shifting.
Construct the main framework for the walkway with vertical and horizontal wooden beams, ensuring it is level and well-supported.
Attach the PVC roofing sheets on top of the framework, making sure to overlap the sheets for optimal water drainage.
Install hinges and latches for easy access, and treat the wood with paint or sealant if desired to enhance longevity.
Extra Tips
- Make sure to check for any loose nails or screws regularly to ensure safety for your chickens. Additionally, consider adding some shade plants alongside the walkway for additional coverage and aesthetics.